 ELXR
How to clip drums for loudness in Ableton Live
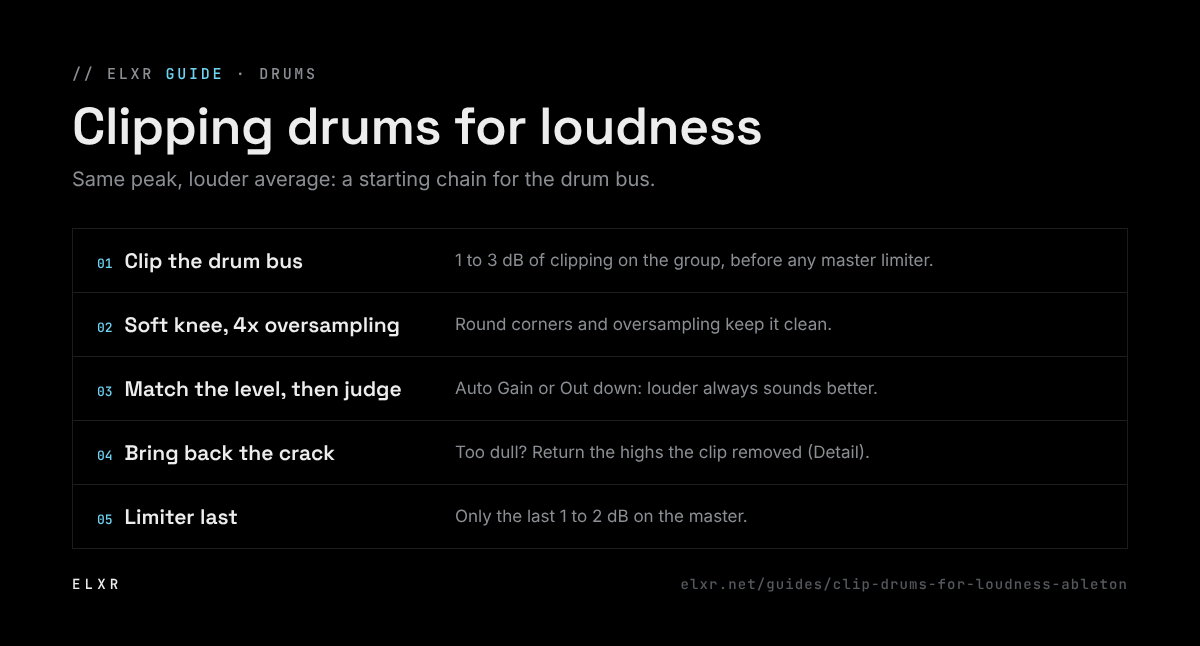
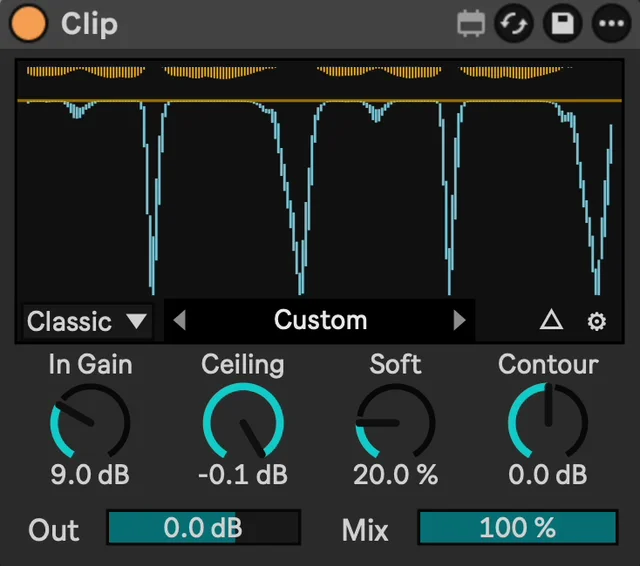
Put a clipper on the drum group and push it until it takes 1 to 3 dB off the loudest hits. The peaks stay where they were, but the average level rises, so the drums sound louder and denser without a limiter pumping. Use a soft knee and 4x oversampling, and compare at matched loudness.
Why clipping makes drums louder
Drum hits have very short peaks and a lot of space between them. Those peaks set how loud you can go before hitting 0 dBFS, even though they last only a few milliseconds. Shave the tips off and the whole loop can come up, while the peak stays put.
Do it with Live's own devices
- Group your drums (select the tracks, Cmd/Ctrl+G) so they share one bus.
- On the group, add Saturator. Choose Analog Clip, turn on soft clipping in the output section, and switch on Hi-Quality (right-click the title bar).
- Raise Drive a few dB at a time. Watch Live's peak meter on the group: when the peaks stop rising while the drums keep getting denser, you're clipping.
- Lower Output until the level matches the bypassed drums (by ear, or with a LUFS meter), so you compare at the same loudness.
- Toggle the device off and on. If the snare gets dull or the kick loses its click, back off the Drive.
How much to clip
- 1 to 3 dB of peak reduction on the drum bus is a common starting point: louder, still natural.
- 3 to 6 dB is an audible effect: dense, aggressive drums for trap, techno or drum and bass.
- Single hits first: clipping a snare or an 808 on its own track before the bus spreads the work out, so no single stage has to do much.
- Check the kick alone: long, low sounds like a kick tail or an 808 distort sooner than short hits; if the low end gets fuzzy, clip less or clip the kick on its own with a softer knee.
Keep the snap
Clipping cuts the very top of each hit, and the top of a hit is where much of a drum's high, fast detail lives. Push too far and the snare loses its crack and the hats sound smeared.
Clip drums and bring the crack back with Clip's Detail mode →
- Tilt before clipping: an EQ before the clipper decides what hits the ceiling first. Cut a little low end going in, and the kick clips less.
- Parallel clipping: put the clipper in a Return or an Audio Effect Rack chain and blend it with the dry drums.
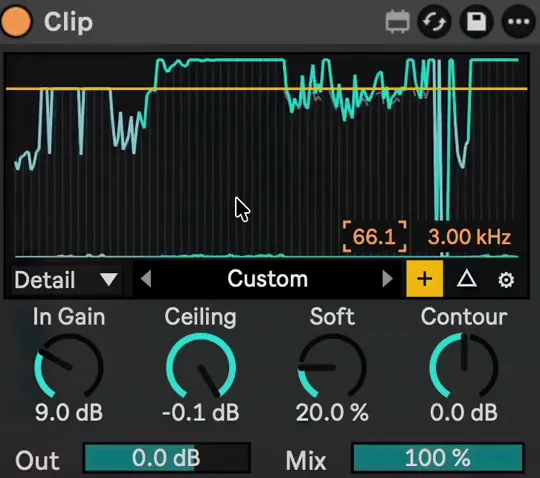
- Restore the highs: some clippers can add back the high-frequency part of what they removed. Clip's Detail mode does exactly this, above a frequency you choose.
A starting chain
Here's the order to work in. Save it as a rack once it sounds right.