 ELXR
Soft clipping vs limiting: when to use a clipper
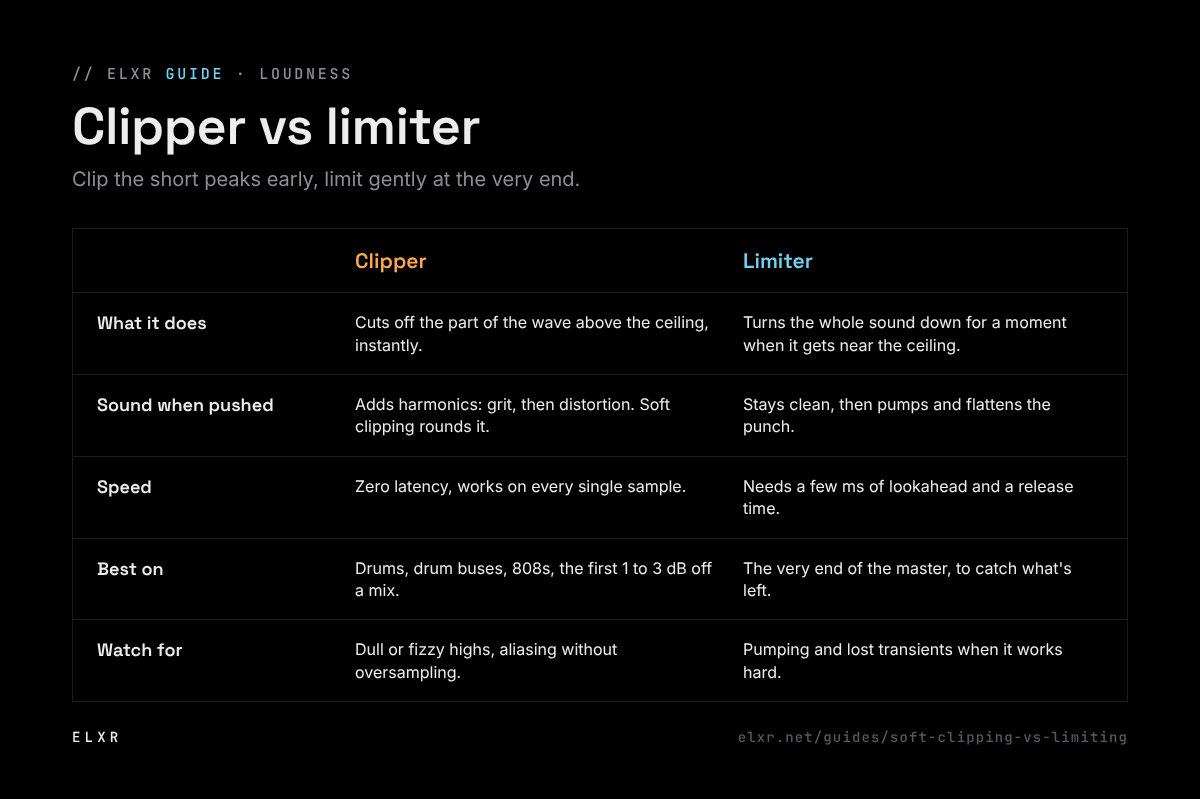
A clipper cuts off the top of the waveform instantly, with no latency: it keeps the punch and adds a little grit. A limiter turns the whole sound down for a moment, which keeps it clean but softens transients and can pump. Clip drums and the first few dB of loudness; put a limiter last to catch what's left.
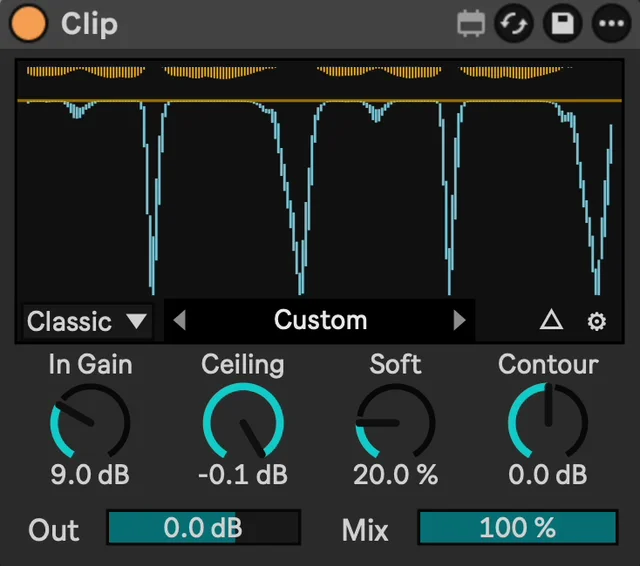
The difference on one drum hit
Both stop a sound from going over a ceiling. They do it in opposite ways. Pick a mode below and raise Drive to see what happens to a single kick drum hit.
What a clipper does
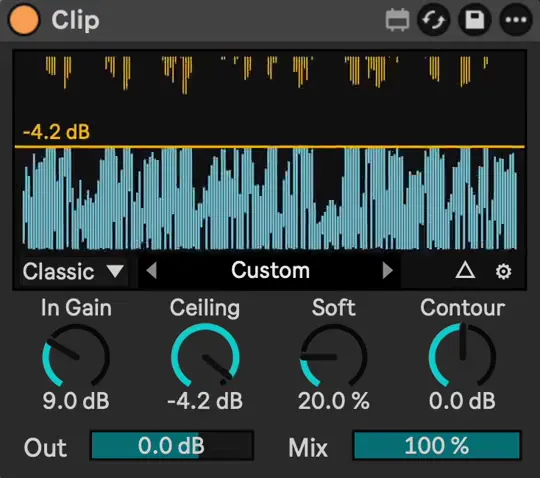
A clipper looks at every sample and simply doesn't let it go above the ceiling. With hard clipping, the tip of the wave is cut flat. With soft clipping, the corner is rounded, so the wave bends into the ceiling instead of hitting it.
- Instant: there's no attack or release, and no lookahead, so there's no latency and nothing to pump.
- Mostly the peaks change: with hard clipping, the body of a hit is untouched and only the short tip above the ceiling is cut; a soft knee also bends the level just under the ceiling.
- It adds harmonics: reshaping the wave creates new overtones. A little reads as punch and density; a lot becomes distortion.
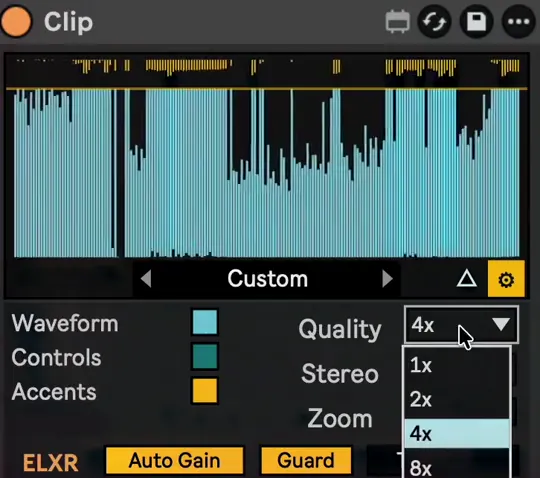
- Aliasing: those new overtones can fold back as harsh tones in a plain digital clipper. Oversampling (running it at 2x, 4x or 8x the sample rate) avoids most of it.
What a limiter does
A limiter is a very fast compressor with an infinite ratio. It looks a few milliseconds ahead, turns the gain down just enough to keep the peak under the ceiling, then lets it recover over the release time.
- Clean shape: the waveform isn't bent, so a limiter is cleaner on full mixes and sustained sounds.
- Everything moves together: a kick that triggers the limiter also turns down the bass, the pad and the vocal under it for a moment. Push it hard and you hear pumping.
- Transients soften: the fastest part of a hit is what gets turned down most, so drums lose snap.
Which one to use where
The rule most engineers follow: clip the short, spiky peaks early, then limit gently at the end.
Try both in Ableton Live
- Limiter: put Live's Limiter on the master. Set Ceiling to -1 dB, raise Gain until it reduces 2 to 3 dB on the loudest hits, and listen to the kick and the bass together.
- Clipper: on the drum group, add Saturator. Set the curve to Analog Clip and turn on soft clipping in its output section (or pick Digital Clip with soft clipping off for a hard corner), and switch on Hi-Quality mode for oversampling (right-click the device's title bar).
- Raise Saturator's Drive until the drum peaks just stop growing, then lower Output until the level matches (by ear, or with a LUFS meter).
- Now the master limiter has less to do. Toggle each one off and on at matched levels to hear which one costs you more punch.
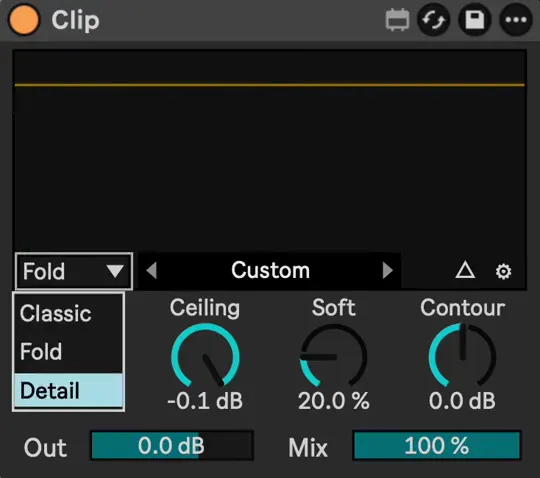
Saturator works, but it doesn't show you where the ceiling is or how much it's cutting, so it's easy to overdo. A dedicated clipper shows the cut on a scrolling waveform and lets you set the ceiling right on it.
Do it in one device with Clip: watch the cut and drag the ceiling where you want it →
Common mistakes
- Judging louder as better. Clipping makes things louder, and louder always sounds better at first. Match levels before you decide.
- Clipping a whole mix hard. A full mix has sustained sounds that distort audibly; clip the drums, and keep the master clipper to the first 1 to 2 dB.
- Skipping oversampling. Harsh, metallic highs after clipping are usually aliasing; turn oversampling up.
- Forgetting the ceiling isn't final. Anything after the clipper (EQ, a limiter, export conversion) can push peaks up again. Check the last meter in the chain.
Clip until you notice it, then back off a little. The right amount is the point where the drums feel bigger but nothing is calling attention to itself.