 ELXR
How to make a riser in Ableton Live
A riser is a sound that climbs in pitch, brightness or level over a few bars and then stops right on the drop. Make one by sweeping a filter up on white noise, pitching a sound up smoothly, and layering both with automated reverb and volume.
Three building blocks
1. Noise sweep
Make white noise with any synth (Operator, Wavetable and Drift all have a noise source), hold one long note, and put an Auto Filter on it. Automate the filter's cutoff from low to high over 4 or 8 bars, and raise the resonance a little for a whistling edge.
2. Pitch rise
Take a synth note, a vocal or a whole loop and pitch it up smoothly over the build. Smooth is the key: a pitch that steps semitone by semitone sounds like a scale, not a riser.
3. Space and level
Automate a reverb send up through the build, and the volume from quiet to loud. Cut everything (or let the reverb tail ring) on the last beat before the drop.
Smooth pitch rises with Pitch
- Put Pitch on the sound you want to rise.
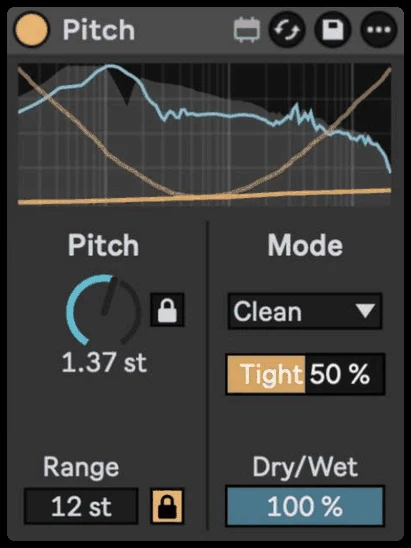
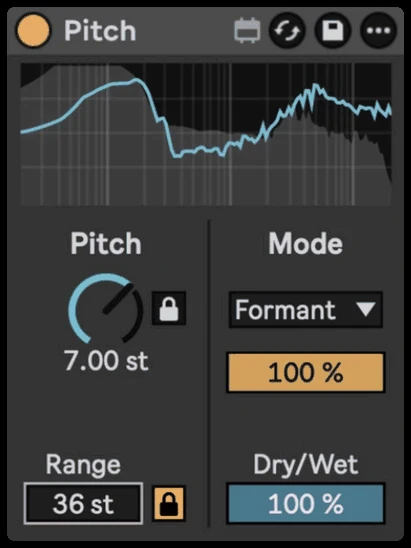
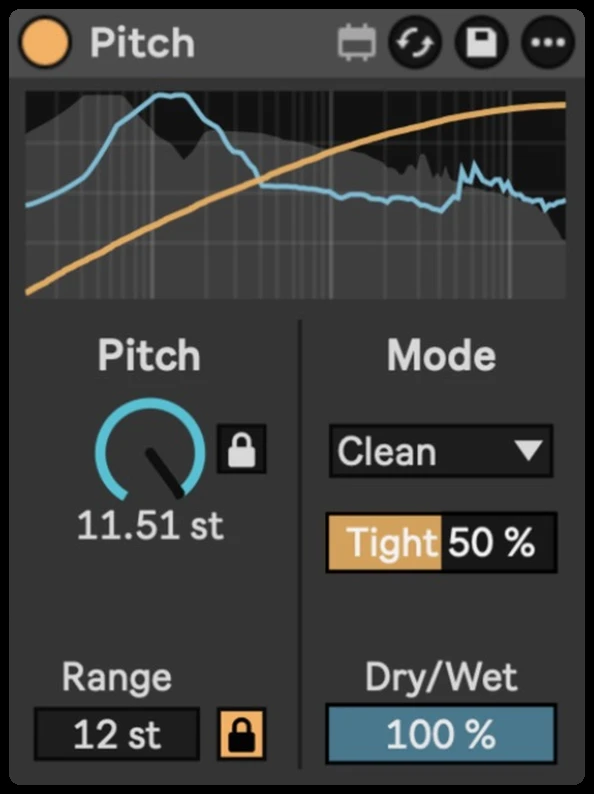
- Set Range to 12 or 24 semitones, with Semitone Lock off so the knob moves without steps.
- Automate the Pitch knob from 0 up to the top over the build.
- Pick a mode: Clean for tight, punchy sounds, Spectral for pads and sustained sounds.
- Use Dry/Wet to layer the rising copy over the original instead of replacing it.
Making it hit
- Curve the automation. A rise that speeds up at the end feels more exciting than a straight line.
- Stop right on time. End the riser exactly at the drop, or a beat before it for a moment of silence.
- High-pass the build. Slowly filter the lows out of the music during the riser so the drop's low end feels huge.
- Layer, don't overload. A noise sweep plus one pitch rise is usually enough.